Astro Quickstart
Plain HTML forms work in Astro with no JavaScript required. Set your endpoint as the action and Astro handles the rest.
What you’ll build
In this guide, you’ll add a working contact form to an Astro page that:
- sends submissions to Formtorch with no JavaScript
- appears in your dashboard instantly
- triggers email notifications on every submission
Steps
Create a form endpoint
Sign in to Formtorch Dashboard , create a project, then create a form. Copy the endpoint URL.
It looks like this:
https://formtorch.com/f/abcd1234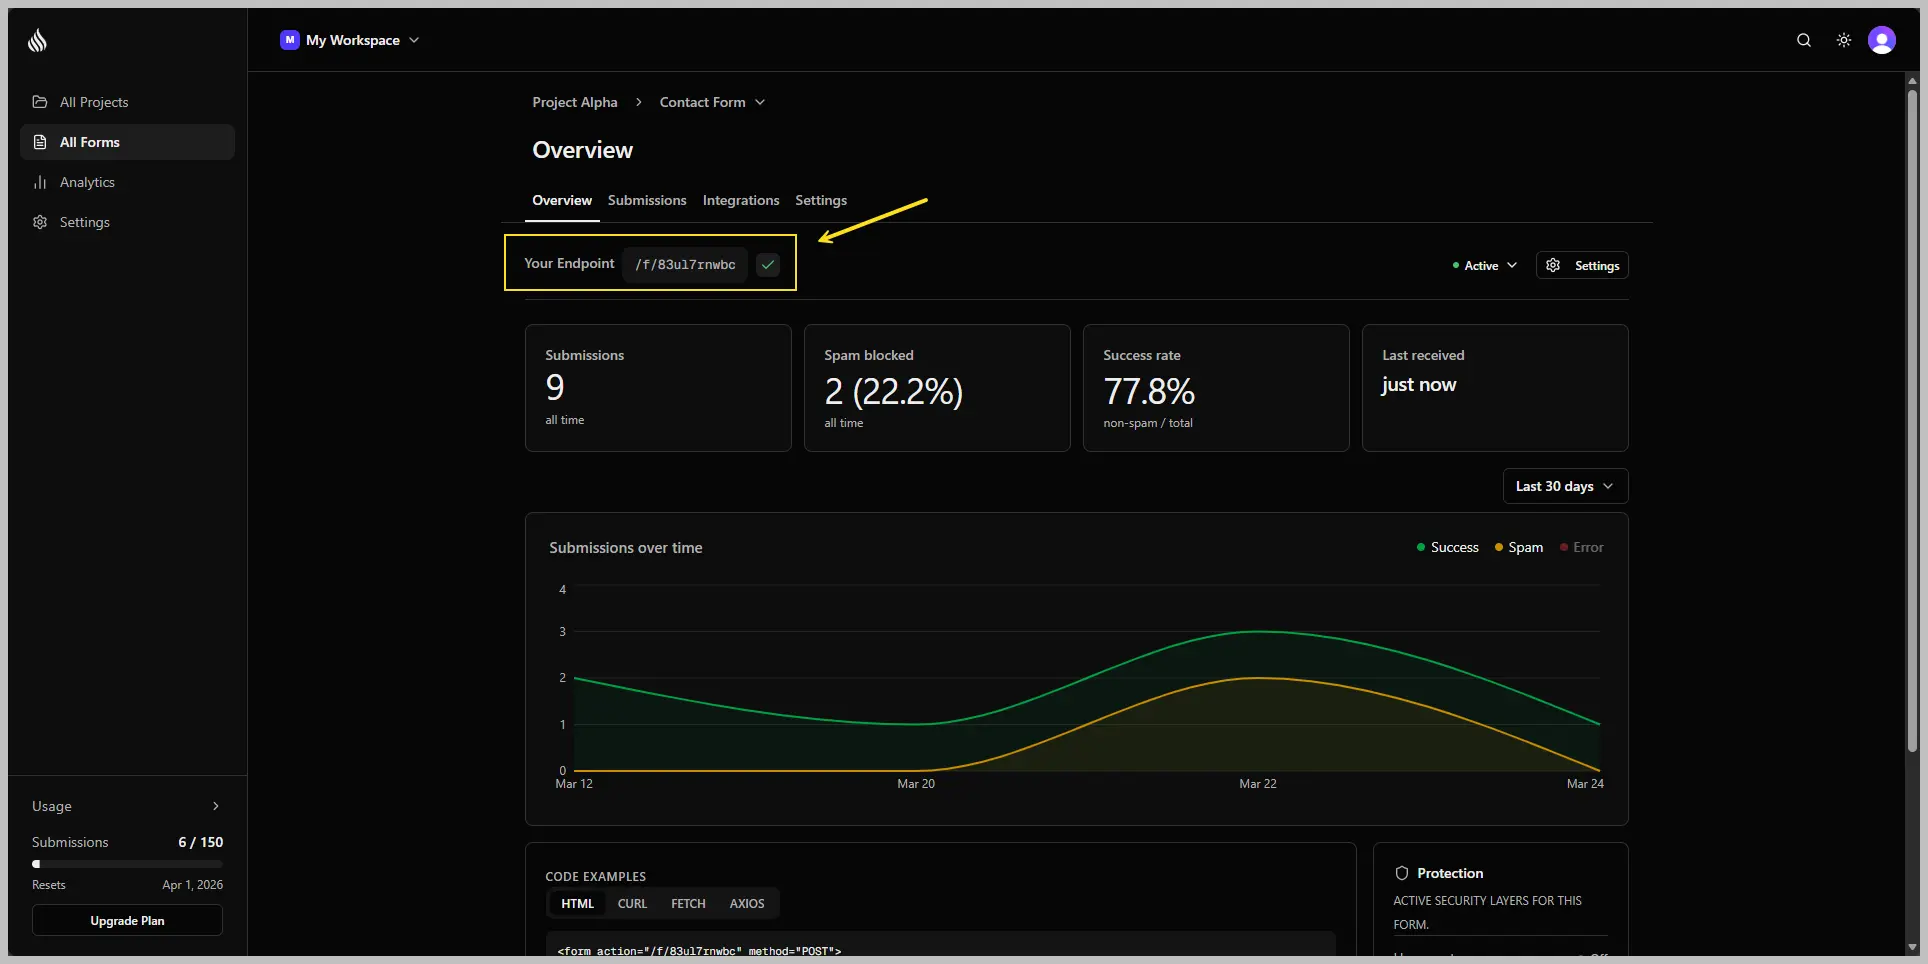
Add the form to your page
Add your endpoint as action and set method="POST". Make sure every input, textarea, and select has a name attribute — Formtorch uses it to label each field in the dashboard.
---
const title = 'Contact'
---

<html lang="en">
  <head>
    <title>{title}</title>
  </head>
  <body>
    <h1>{title}</h1>

    <form action="https://formtorch.com/f/YOUR_FORM_ID" method="POST">
      <label>
        Name
        <input type="text" name="name" placeholder="Your name" required />
      </label>

      <label>
        Email
        <input type="email" name="email" placeholder="you@example.com" required />
      </label>

      <label>
        Message
        <textarea name="message" placeholder="Your message" rows="5" required></textarea>
      </label>

      <button type="submit">Send message</button>
    </form>
  </body>
</html>
Submit the form
Open the page in your browser, fill in the fields, and hit submit.
Formtorch will receive the data and show you a success page. Head over to the Submissions tab in your dashboard — you’ll see the submission sitting there, ready to go.
If you set up email notifications, check your inbox. The email should land within a few seconds.
You’re done
Your Astro form is live and collecting submissions. That’s it.
From here, you can set up a custom redirect, enable test mode while you’re building, or explore the dashboard to see everything Formtorch captured.
Redirect after submission
By default, Formtorch shows a plain success page after submission. To redirect to your own page, open your form in the dashboard → Settings → Success Redirect, turn it on, and enter your URL.
Or add a hidden _redirect field pointing to a page on the same site:
<input type="hidden" name="_redirect" value="https://yoursite.com/thank-you" />Both options apply to standard form posts. If you submit with JavaScript, redirect in your own code after a successful response. See Custom Redirects for details.
Test mode
Use test mode while developing to avoid sending emails or using your quota.
Add _test=true to mark a submission as a test. Test submissions appear in the dashboard with a badge, skip email notifications, and don’t count toward your quota.
<input type="hidden" name="_test" value="true" />Remove this before going live.
With JavaScript
Use the JavaScript approach when you want an inline success message instead of a page redirect, for example, to show a confirmation without navigating away.
For most Astro forms, the plain HTML approach above is simpler and more resilient. Reach for this when you specifically need client-side feedback.
---
---

<form id="contact-form">
  <input type="text"  name="name"    placeholder="Name"    required />
  <input type="email" name="email"   placeholder="Email"   required />
  <textarea           name="message" placeholder="Message" required></textarea>
  <button type="submit">Send message</button>
</form>

<p id="success-message" style="display: none">
  Message sent. We'll be in touch soon.
</p>

<p id="error-message" style="display: none">
  Something went wrong. Please try again.
</p>

<script>
  const form = document.getElementById('contact-form') as HTMLFormElement
  const success = document.getElementById('success-message') as HTMLElement
  const error = document.getElementById('error-message') as HTMLElement

  form.addEventListener('submit', async (e) => {
    e.preventDefault()
    const res = await fetch('https://formtorch.com/f/YOUR_FORM_ID', {
      method: 'POST',
      headers: { 'X-Requested-With': 'XMLHttpRequest' },
      body: new FormData(form),
    })
    if (res.ok) {
      form.style.display = 'none'
      success.style.display = 'block'
    } else {
      error.style.display = 'block'
    }
  })
</script>
React or Vue islands
If you have an Astro island using React or Vue, use the corresponding quickstart instead:
- React island:
<ContactForm />as aclient:loadcomponent - The Vue pattern is the same as React: intercept
@submit, post withfetch
---
import { ContactForm } from '../components/ContactForm'
---

<!-- React island: loads client-side JS for interactivity -->
<ContactForm client:load />
The _test reserved field works in all Astro patterns. Add it as a hidden
input or append it to the FormData object before posting. _redirect only
applies to standard form posts; with JavaScript, redirect after a successful
response instead. See the Forms reference for the full list
of reserved fields.
Next steps
Your form is connected. Here are the most common things to set up next.