Zapier Integration
Forms can now trigger a Zapier workflow on every submission, no code required. Set it up with a "Webhooks by Zapier" Catch Hook, the same trigger type Zapier recommends for custom apps like Formtorch.
Setting up a Zap
- In Zapier, create a Zap with the trigger Webhooks by Zapier → Catch Hook and copy the hook URL.
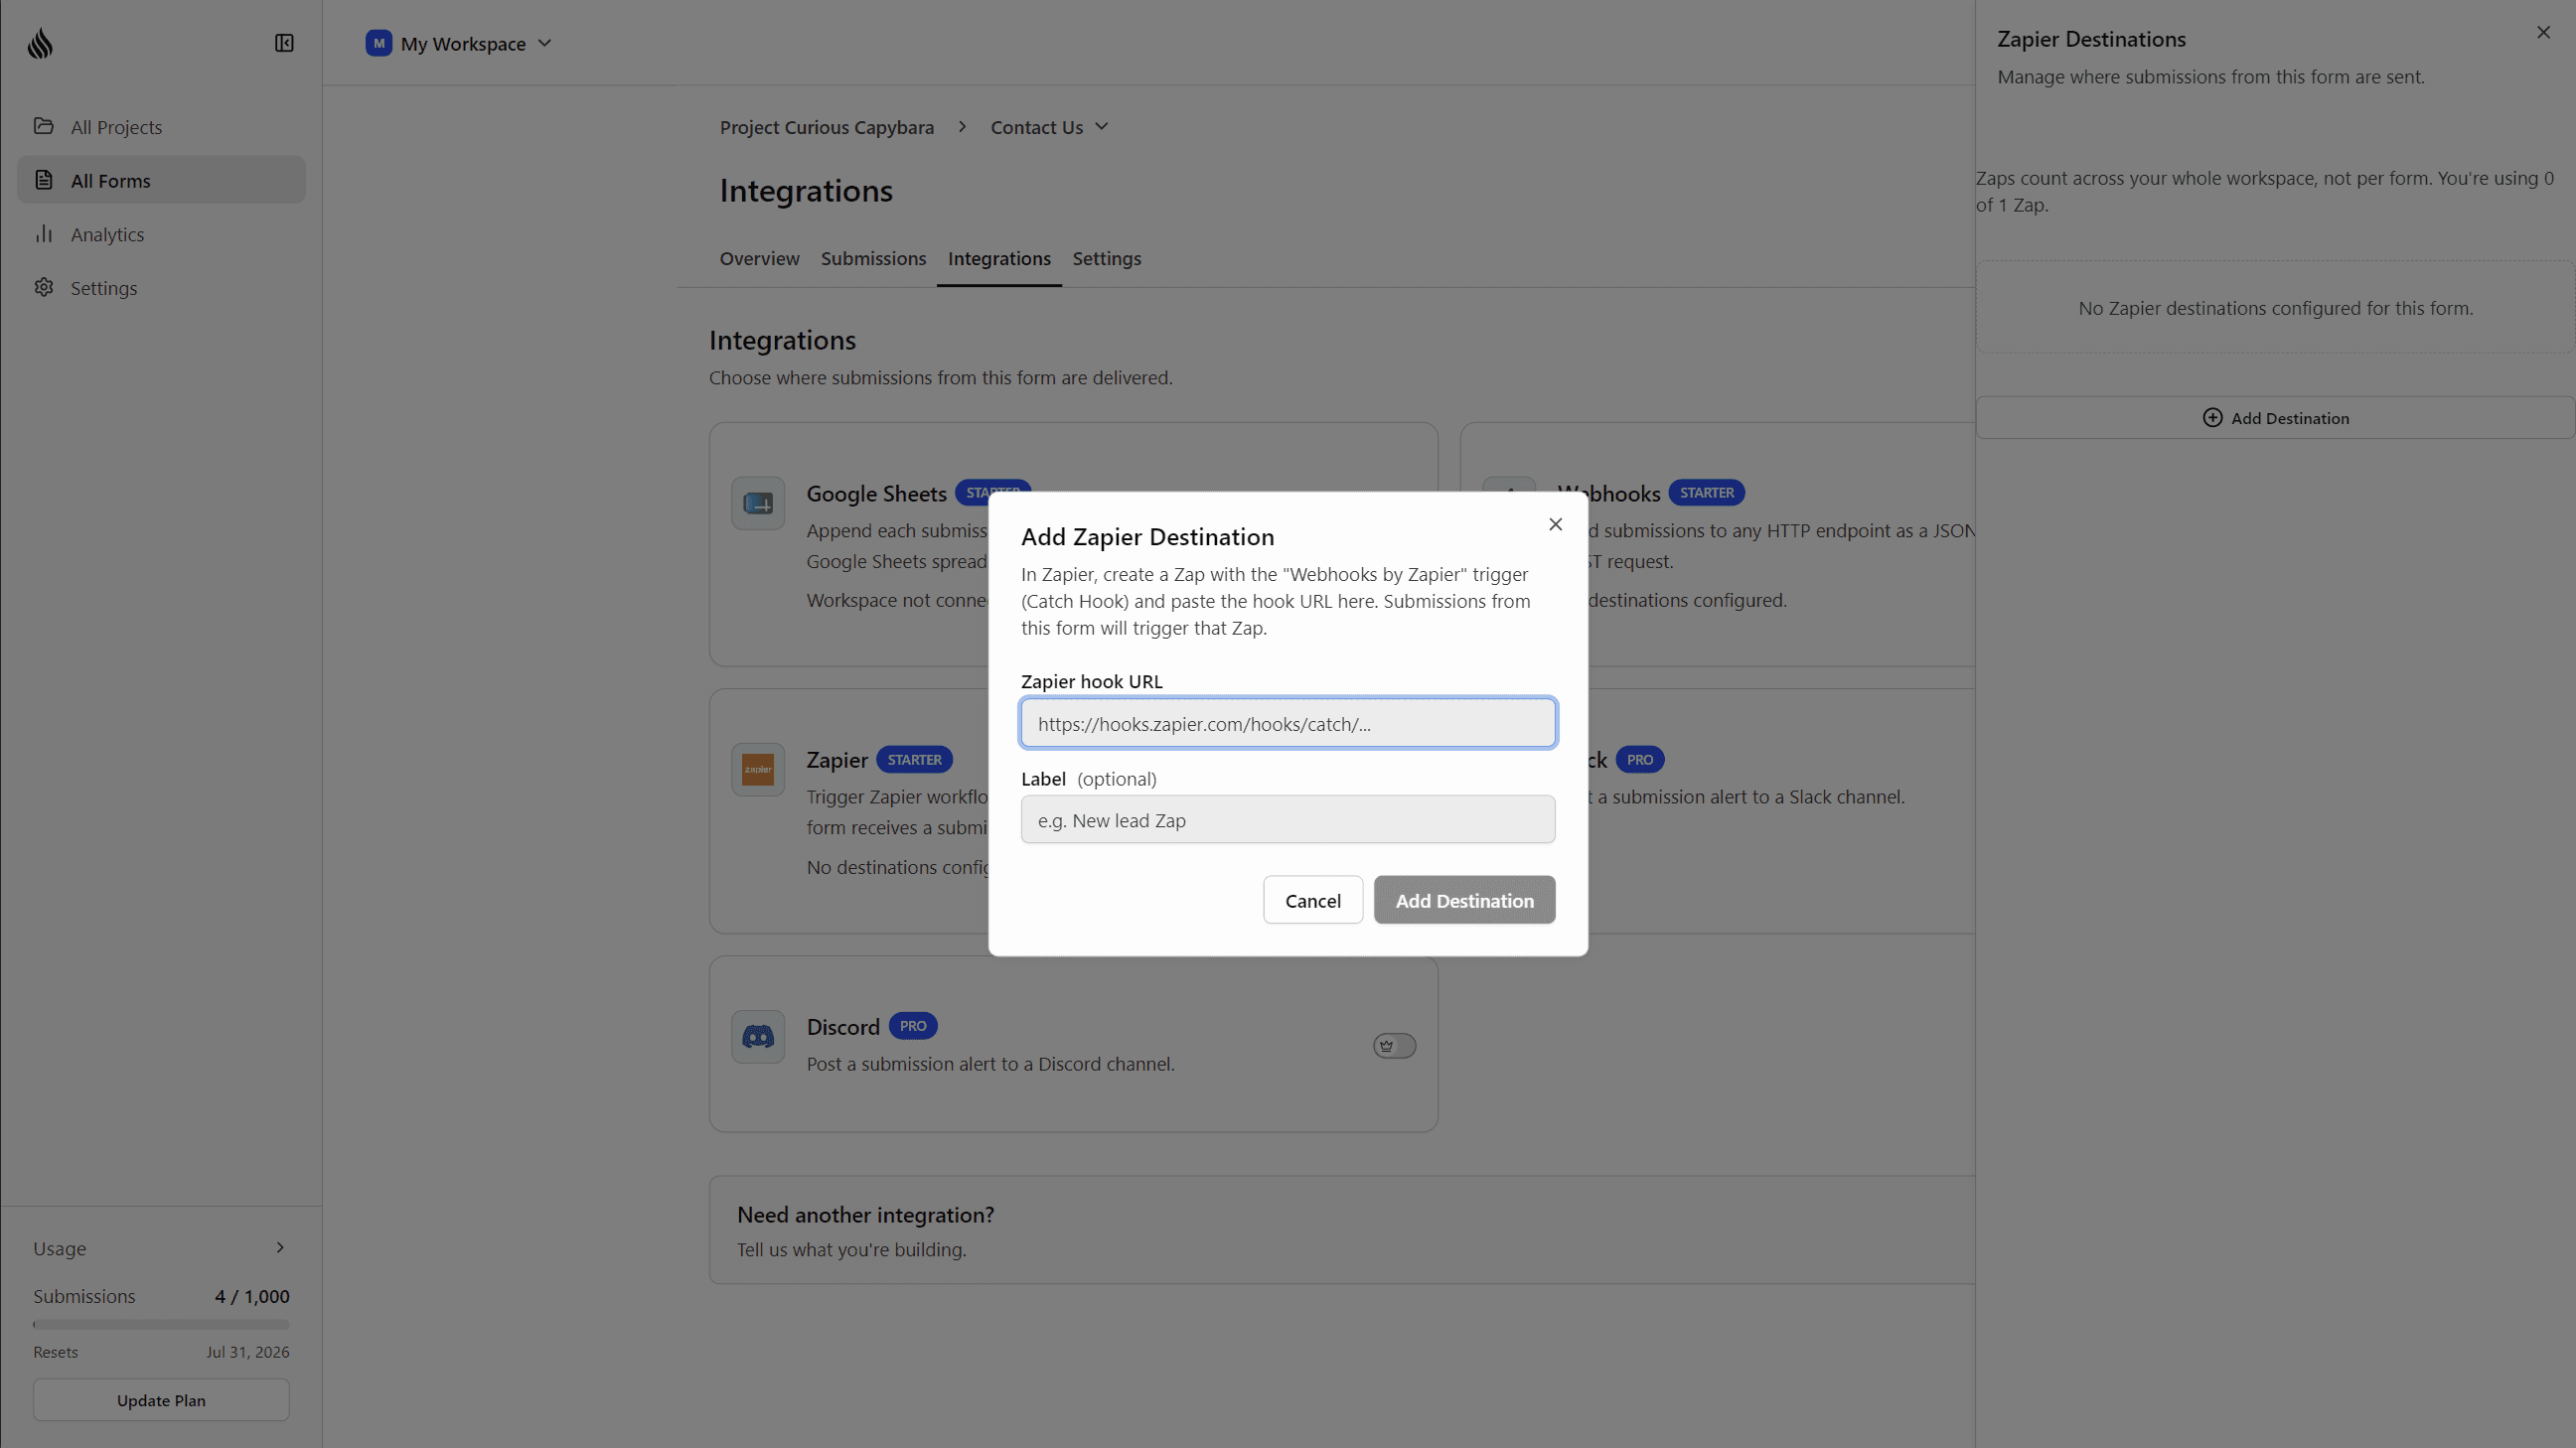
- In Formtorch, open the form's Integrations page and click Add Destination on the Zapier card.
- Paste the hook URL, optionally label it, and save.
- Submit a real (non-test) entry to the form, then use Zapier's "Test trigger" to pull in the sample and map fields.
Each submission is delivered as a signed JSON payload through the same async engine that powers webhooks and Google Sheets: retried automatically on transient failures, with delivery status visible per submission.
Zap limits are workspace-wide
Unlike webhooks and Google Sheets destinations, which are capped per form, Zap slots are shared across your whole workspace:
| Plan | Active Zaps |
|---|---|
| Free | Not available |
| Starter | 1 across all forms |
| Pro | 5 across all forms |
Pausing a Zap frees its slot immediately; reactivating re-checks the cap.
For setup details and troubleshooting, see the Zapier integration docs.
We’d love to hear from you
Have feedback on this update, or an idea for a feature you’d like to see? We read every message and genuinely take them into account as we build.
hello@formtorch.com